這一篇會單獨把 Weather Icon 這個子組件拉出來說,因為裡面的判定有一點小複雜。
Weather Icon
首先,這裡會有兩個因素影響 Icon 的變化:
- 天氣現象
- 白天或早上
上一篇有說到,天氣現象是由父組件傳入 currentWeather.weatherCode 的氣候代碼所決定的。而白天與早上的判定,也在上一篇由 fetchSunRiseSunSet() 這個方式所獲取並根據現在時間所判斷出來的。
子組件使用 defineProps 來獲得父組件傳進來的參數:
defineProps({
  currentWeatherCode: {
    type: Number,
    default: 1,
  },
  dayStatus: {
    type: String,
    // 預設值設為晚上
    default: 'night',
  },
});
根據一般天氣預報 說明檔裡,有些氣候狀態的樣式其實都是差不多的,所以把它們整理並對照我們所擁有的 Icon:
const weatherTypes = {
  isThunderstorm: [15, 16, 17, 18, 21, 22, 33, 34, 35, 36, 41],
  isClear: [1],
  isCloudyFog: [25, 26, 27, 28],
  isCloudy: [2, 3, 4, 5, 6, 7],
  isFog: [24],
  isPartiallyClearWithRain: [8, 9, 10, 11, 12, 13, 14, 19, 20, 29, 30, 31, 32, 38, 39],
  isSnowing: [23, 37, 42],
};
接著要判定目前是白天還是晚上:
const weatherIcons = reactive({
  day: {
    isThunderstorm: DayThunderstorm,
    isClear: DayClear,
    isCloudyFog: DayCloudyFog,
    isCloudy: DayCloudy,
    isFog: DayFog,
    isPartiallyClearWithRain: DayPartiallyClearWithRain,
    isSnowing: DaySnowing,
  },
  night: {
    isThunderstorm: NightThunderstorm,
    isClear: NightClear,
    isCloudyFog: NightCloudyFog,
    isCloudy: NightCloudy,
    isFog: NightFog,
    isPartiallyClearWithRain: NightPartiallyClearWithRain,
    isSnowing: NightSnowing,
  },
});
寫一個函數來獲得 weatherCode 並把它轉變成對應的天候氣象:
const weatherCode2Type = (weatherCode: number) => {
  const [weatherType] =
    Object.entries(weatherTypes).find(([weatherType, weatherCodes]) => weatherCodes.includes(Number(weatherCode))) ||
    [];

  return weatherType;
};
最後就是顯示在畫面上:
<template>
  <div>
    <img :src="weatherIcons[dayStatus][weatherCode2Type(currentWeatherCode)]" alt="" />
  </div>
</template>
成果就是:
![]()
更新按鈕動畫
按鈕按下確實是會更新狀態,但是,如果今天有網速比較慢的使用者,他就必須要花比較長的時間來抓取 API,那他要怎麼知道目前是更新中還是已經成功獲取 API 了?所以我讓按鈕動起來,來告訴使用者資料還在讀取中。
到 Weather.vue 先設定一個變數來存放更新狀態:
const isLoading = reactive({ status: false });
接著可以看到更新按鈕有三個事件是獲取 API 資料的:
@click="
  () => {
    fetchCurrentWeather();
    fetchWeatherForecast();
    fetchSunRiseSunSet();
    ...
}
到第一個獲取 API 函數裡的最上面加入:
const fetchCurrentWeather = async () => {
  // 更新按鈕動畫
  isLoading.status = true;
  ...
}
在最後一個獲取 API 函數的最下面加入:
const fetchSunRiseSunSet = async () => {
  ...
  isLoading.status = false;
}
這樣就完成按鈕的狀態。
按鈕動畫
狀態有了那動畫部分呢?我這邊使用的是 font-awesome,所以可以到 Font-awesome search 這裡來找尋自己要的 Icon。
將找到的 Icon 程式碼與狀態結合就會變成:
<i class="fa-solid fa-refresh fa-spin" v-if="isLoading.status === true"></i>
<i class="fa-solid fa-rotate" v-else></i>
這樣在更新時就會有動畫了。
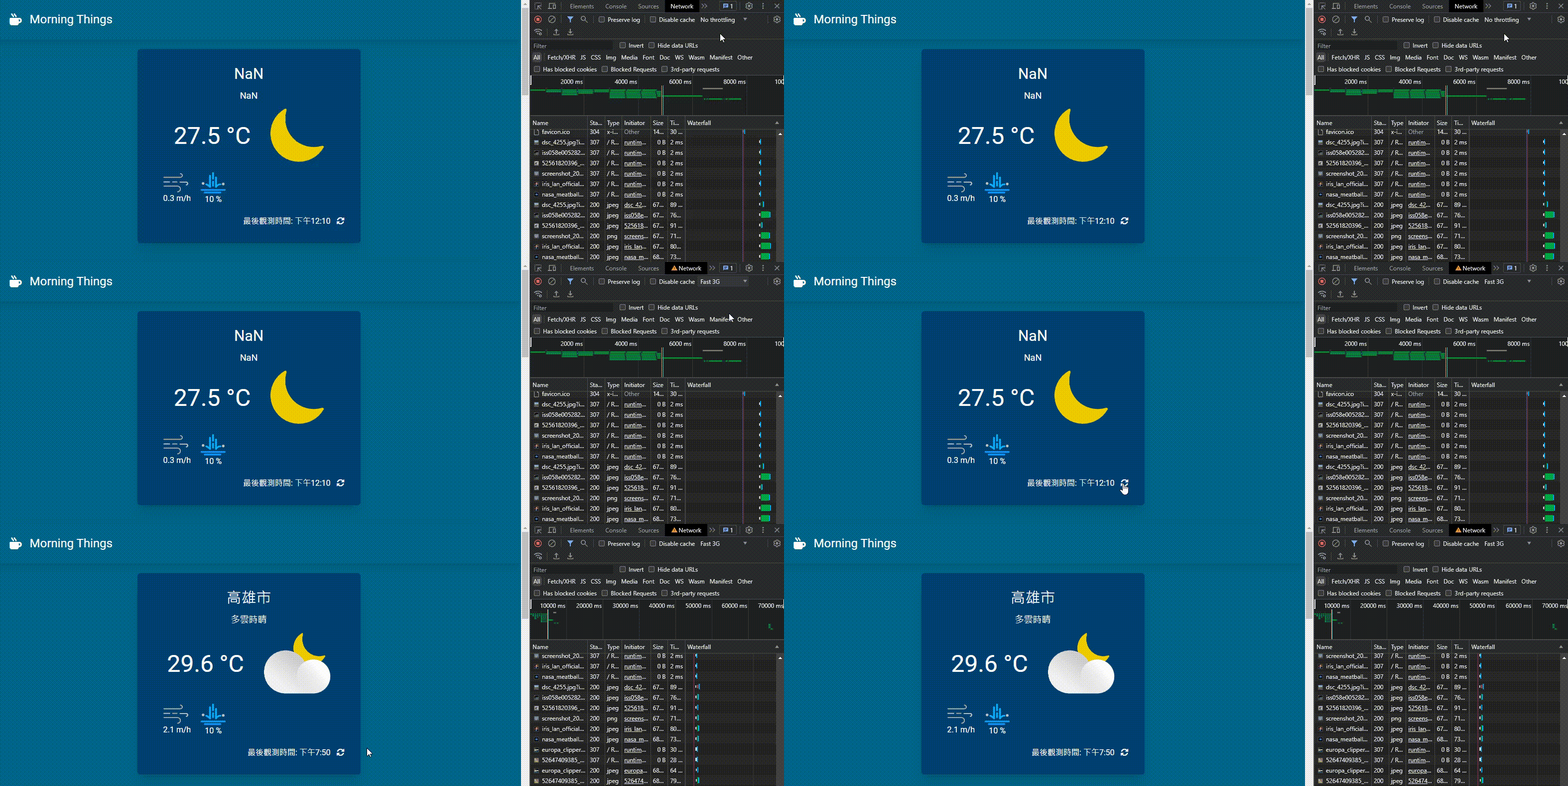
可是我網速很快沒有辦法看到,那很簡單,瀏覽器都有提供限速的選項:

⚠️ 如果有關掉 Windows 效能選項:在視窗內部以動畫方式顯示控制項和元素 這個設定,那請務必把他打開,不然更新按鈕在更新時是不會旋轉的。
程式碼部分同步在 et860525/Morning-things。
結語
根據時間與天氣氣候變換天氣 Icon 真的很酷,這裡我是參考 [Day 21 - 即時天氣] 處理天氣圖示以及 useMemo 的使用 這篇文章的,在那個時候應該是還沒有日出日落的 API 可以使用,不過到了現在我上去看的時候已經有了,所以我就沒有再下載 JSON 檔案再處理😀。